Step One: Locate the hood latch release lever under the dash on the left side.
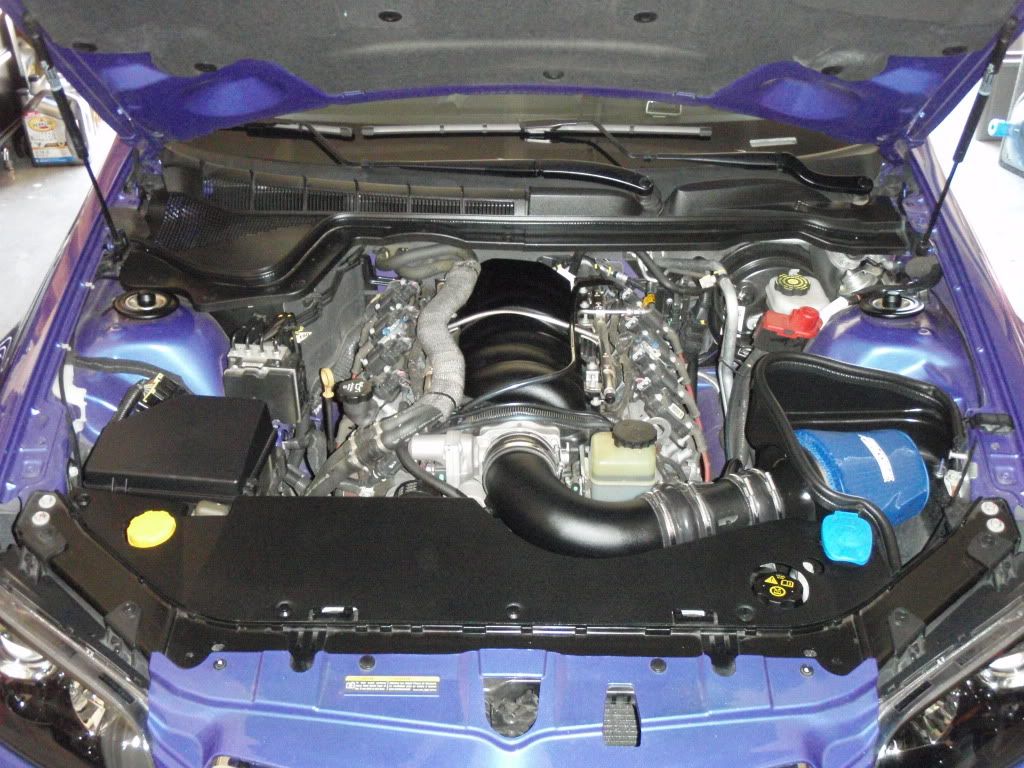
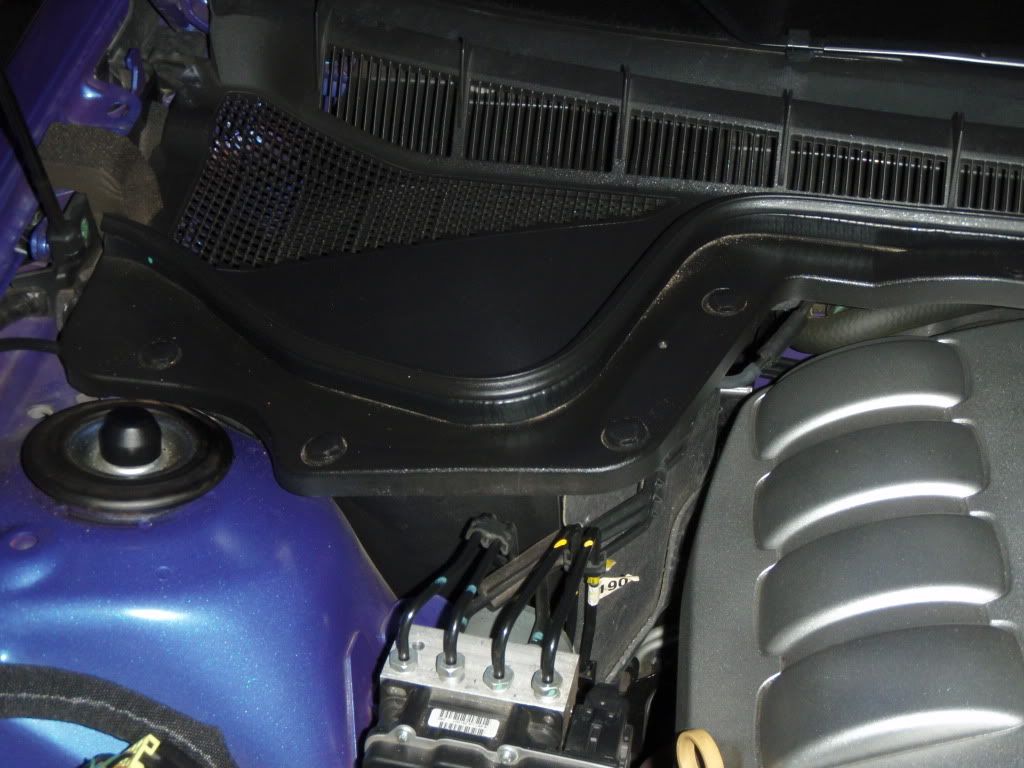
Step Two: Open hood and locate the Cabin Air Filter area.
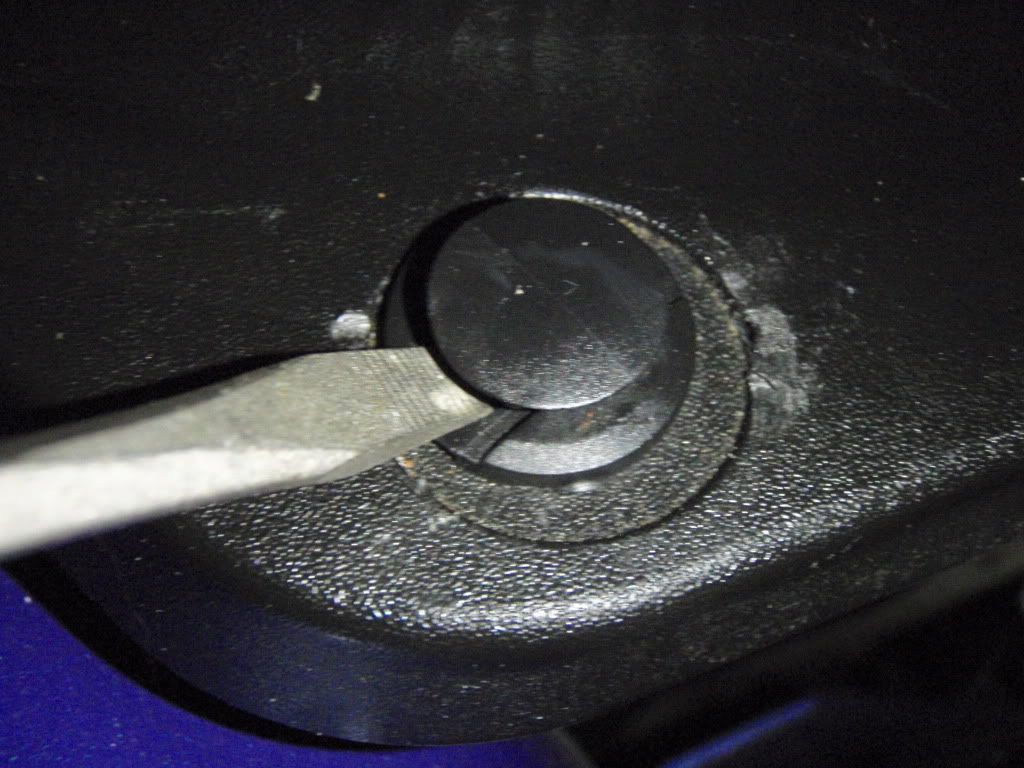
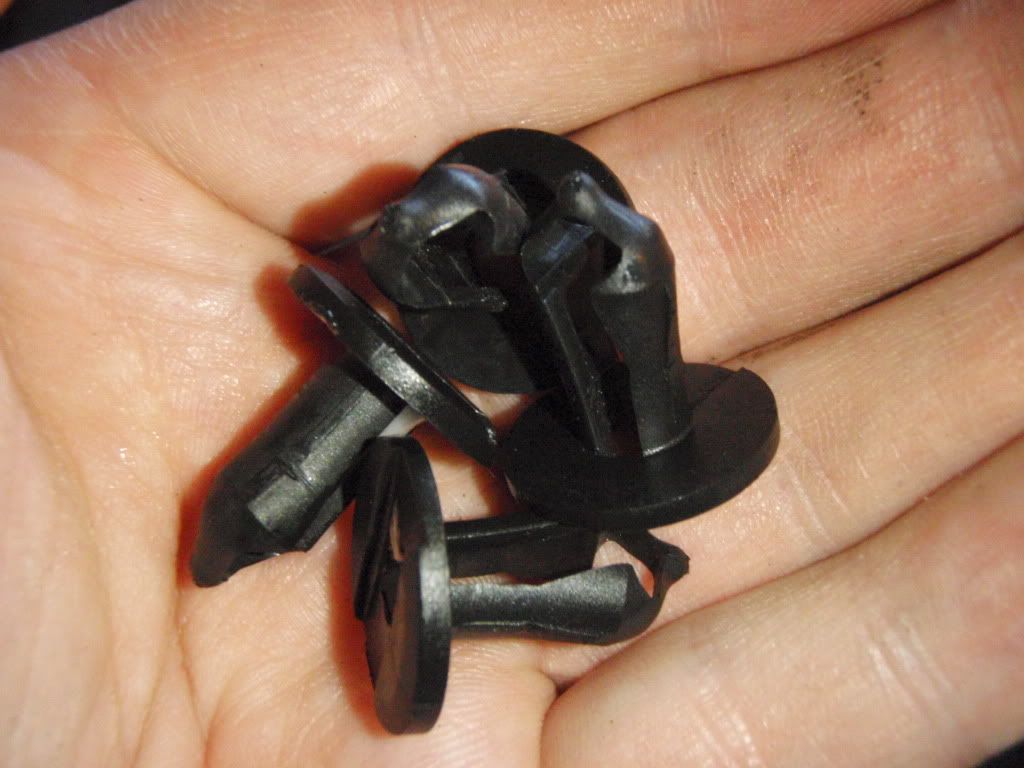
Step Three: Take a medium flat head screwdriver and gently pry the inserts out from the center of the plastic tabs. Caution need to be used at this point, as these little plastic pieces are slippery and tend to jump out of the hand.
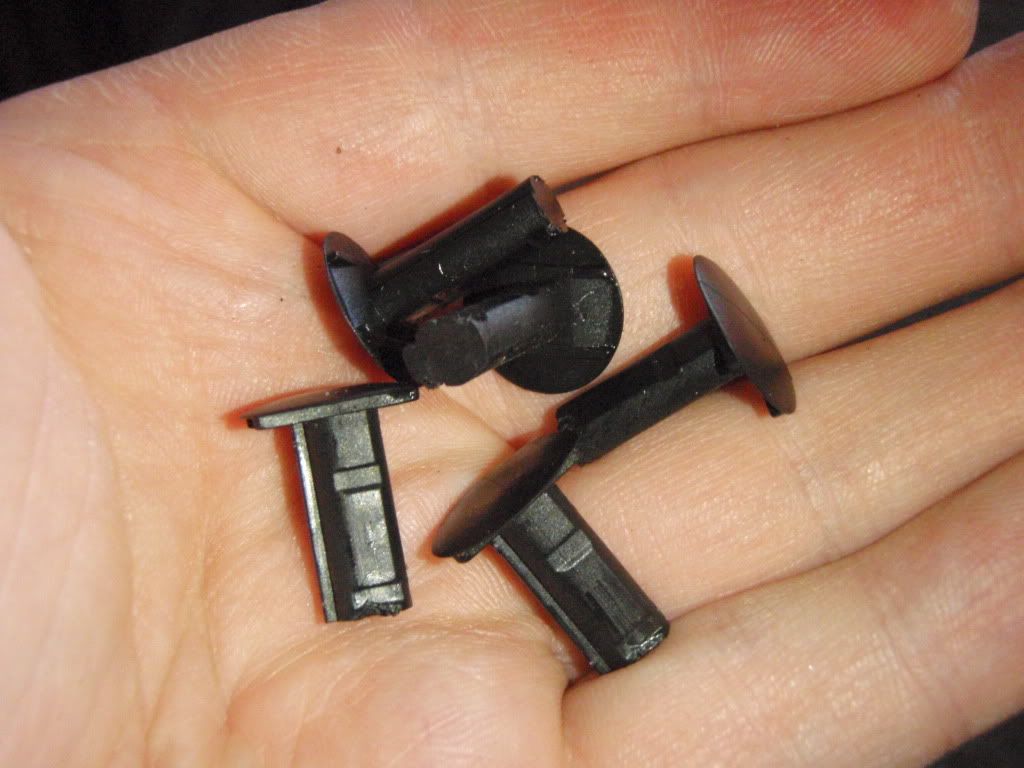
You will remove 6 of the plastic inserts
and then remove 6 of these large plastic tabs
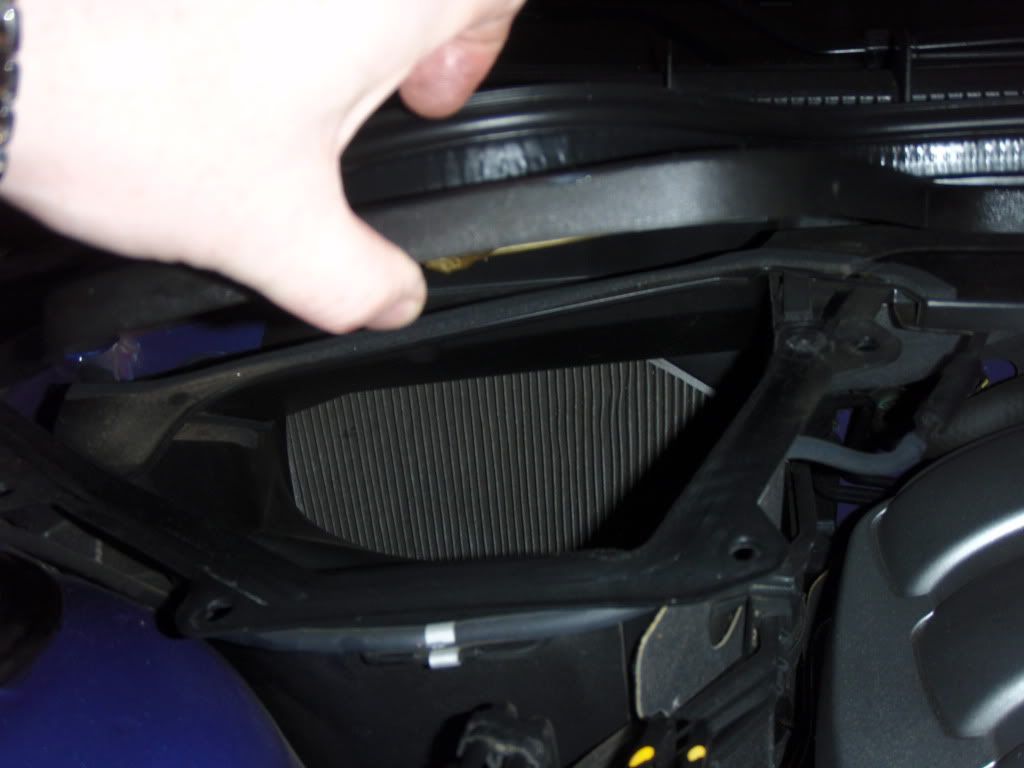
Step Four: Gently lift the plastic cover up and remove the dirty Cabin Air Filter. Grab at a corner and pull gently.
After removing the old filter, it's a good idea to clean out the bottom of the tray. Leaves and other garbage gathers there.
Step Five: Place your new Cabin Air Filter back in place. Make sure the filter is pointing in the proper direction when you re-install the new one, there will be air flow arrows on the bottom of the filter. The instructions show the filter being flexed buy both hands, from left to right into a soft -S- shape while lowering into position. The filter is flexible, but caution needs to be used as it will separate on you. Remove any debris that's visible. Place the bottom of the filter as far down as you can get it, and then gently slide the top of the filter into place.
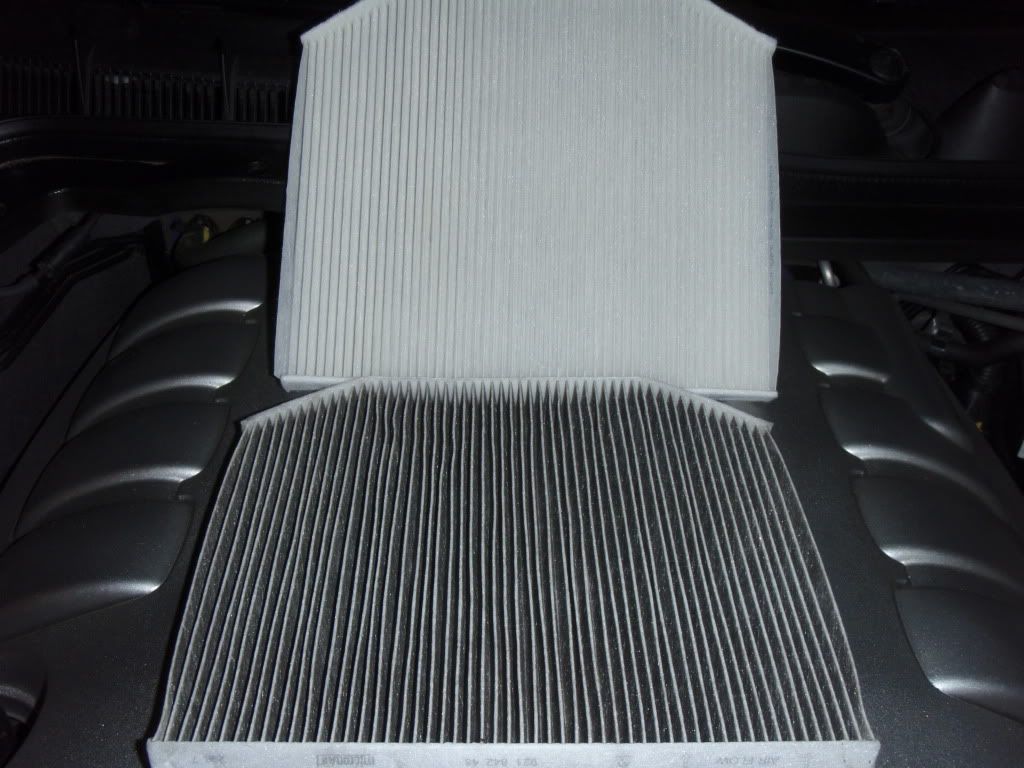
Here's a picture of the new vs the old filter. It should be changed every year.
Step Six: Place all of the large tabs back into place.
Tip: Align them so removing the inserts is easy next time.
Step Seven: Place all of the middle inserts back into place
Step Eight: Step back and admire your work. This filter should be changed every year.




 Reply With Quote


