


Warning...I didn't take pix. I know. Sorry.
After 75,000 mostly-highway miles, my headlights appeared like they had slight pitting and sandblasting. You could see it and certainly feel it. Not horrible but it was very present. They were not discolored - just rough.
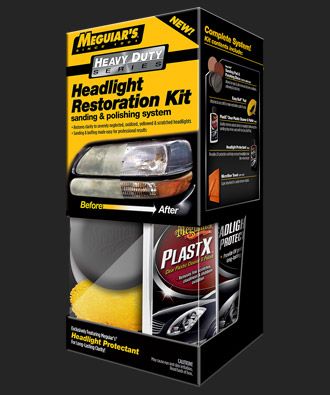
Anyway, I thought I'd give the Maguiar's product a try. Well, after less than 30 minutes, I completed the job and I must say that it was well-worth the $30.00 I paid.
You start with a side-to-side wet sanding with 1000 grit then an up-and-down dry sanding with 3000 grit. Then polishing with their pad attachment for your cordless drill and their polising compound. Then a final protectant compound.
The product took out 80-85% of the pits and roughness that was present. They also appear clearer. I'm sure tomorrow morning when I leave for work in the dark, I will be getting flashed again as people will think my high beams are on.
Anyway, for $30 and the results you get, I would recommend it.
I am going to use it on my son's headlights next.
I'm sure if you are comfortable with wet sanding and polishing and you already own "pro" supplies, you could do better than buying this kit.
For a quick fix for many of us, this kit will work just fine.

 Reply With Quote
 Sorry had to.


 Curt here