-
Moderator

 Front Wheel Hub and Bearing Assembly Replacement
Last week I got an ABS fault light and after reading the code I found it was a C0035, left front wheel speed sensor circuit fault. After going through the troubleshooting procedure to verify that the wiring was alright, the next step was to replace the wheel speed sensor. For the rear sensors this is a simple task that just requires unplugging the connector and removing one bolt. The front sensors however are integrated into the hub and bearing assembly and have to be replaced as an entire unit.
To do this, you first have to jack up the car and remove the wheel. You next have to remove the brake caliper and rotor. I've installed Wilwood brakes so this step will be a little different for those with a stock setup, but for me I just removed the pads and then two nuts and slid the caliper off it's mounting bracket. You don't need to remove the brake hose, but I supported the caliper's weight by tying it off to the spring with some wire.
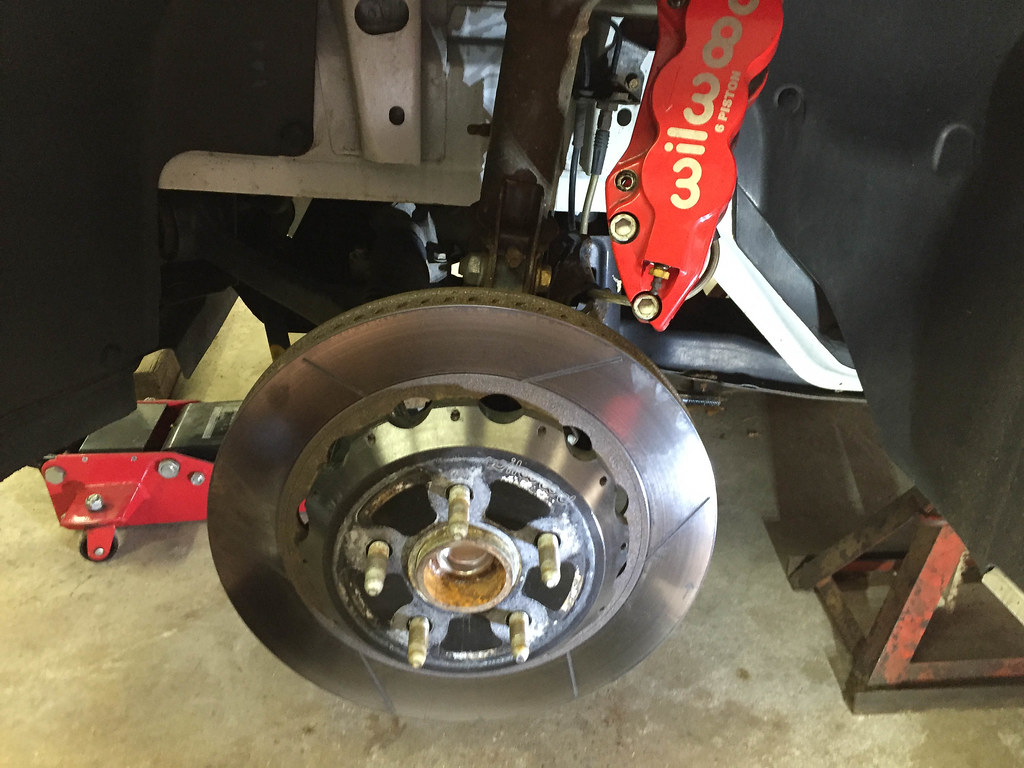
The brake rotor should then just come right off. It may need some hammer persuasion if it's never been off before, but mine pulled right off. Stock brakes will still have the dust shield in place, which shouldn't get in the way for this job.
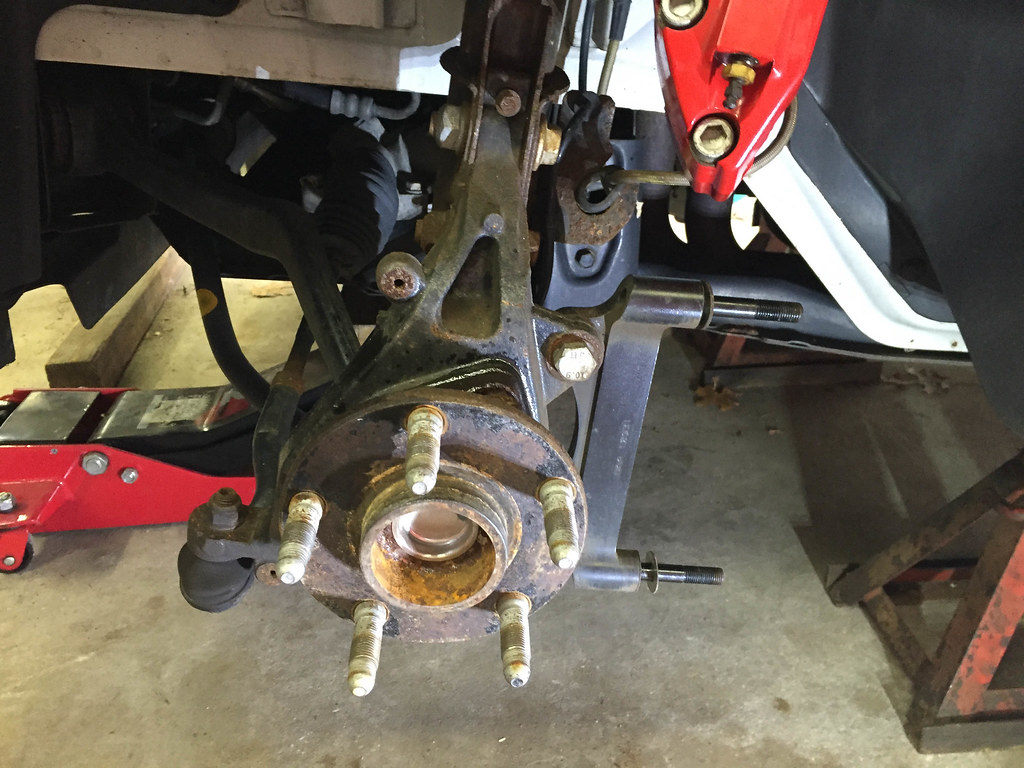
Now comes the fun part of removing the old hub. Unplug the electrical connector, and then it's held in place by three M12x1.75 socket head bolts. These require a 10mm Allen key or hex bit socket to remove. They were pretty tight and in some cases I had to use a cheater pipe slid over the long end of a hex key to get the bolt cracked free. Also, some kind of penetrating oil is your friend. The lower aft-most bolt was the hardest to get because the ball joint from the LCA doesn't give you much room.
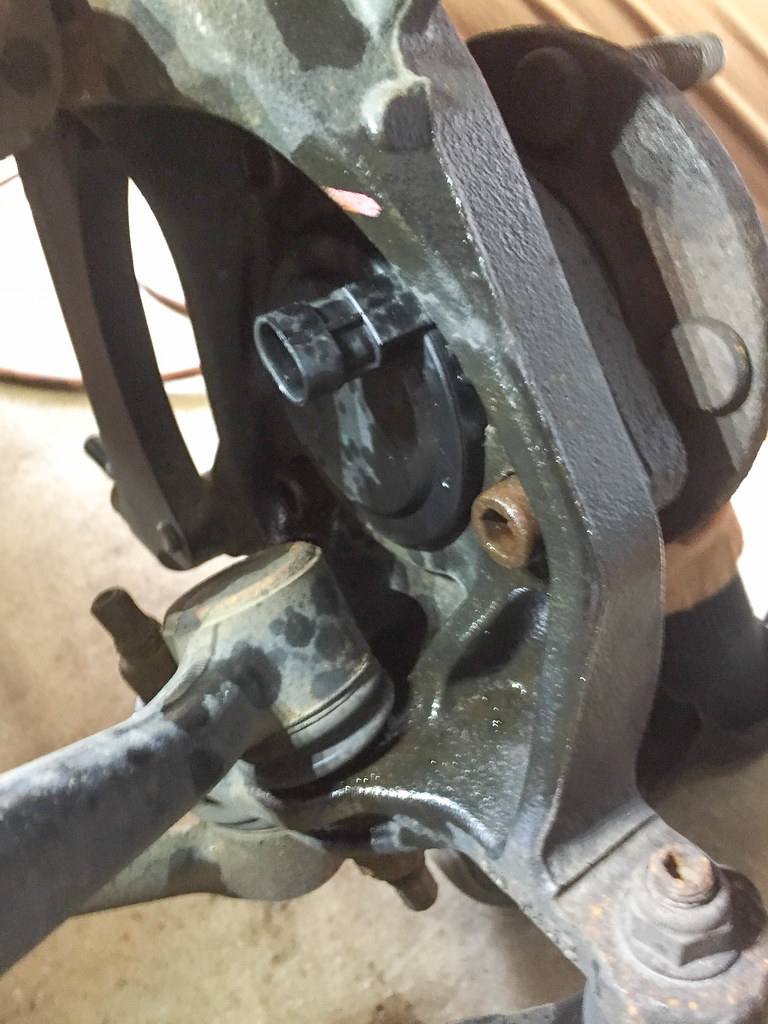
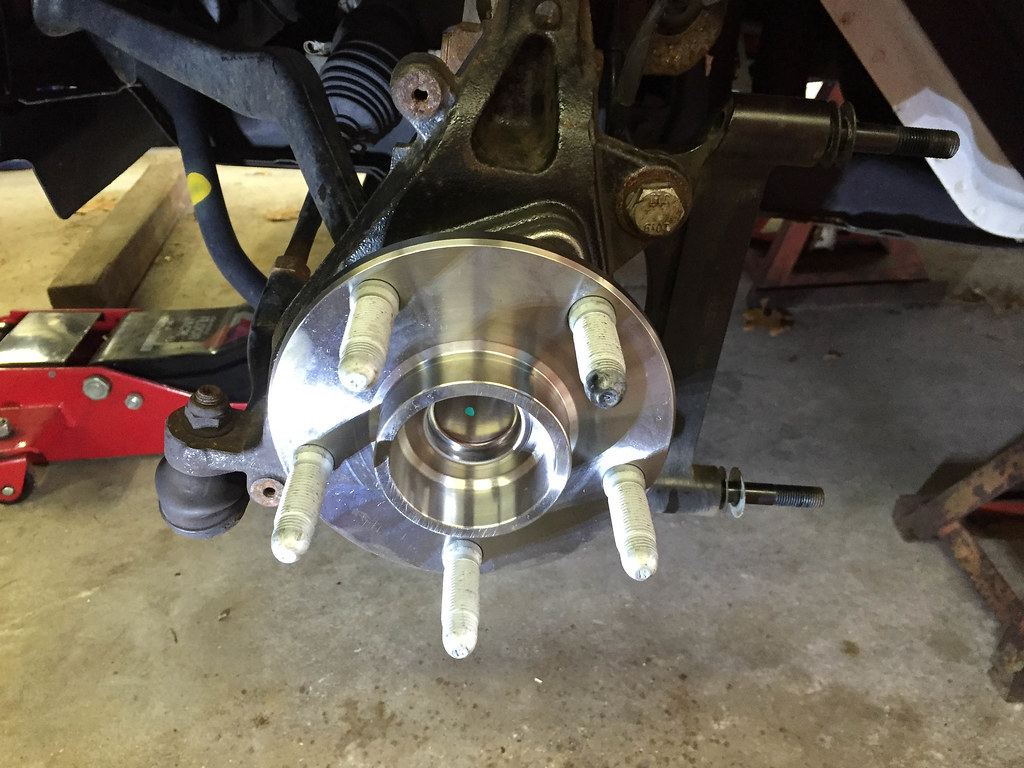
Once I got the old piece out, I cleaned up the seating surfaces with a small wire brush.

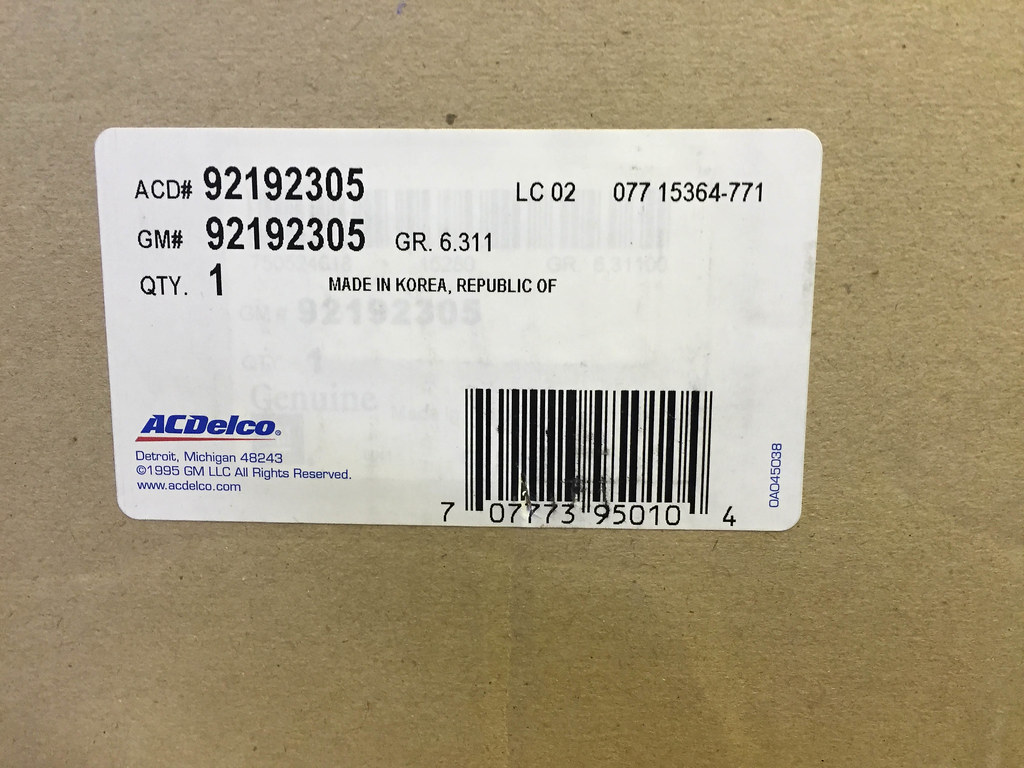
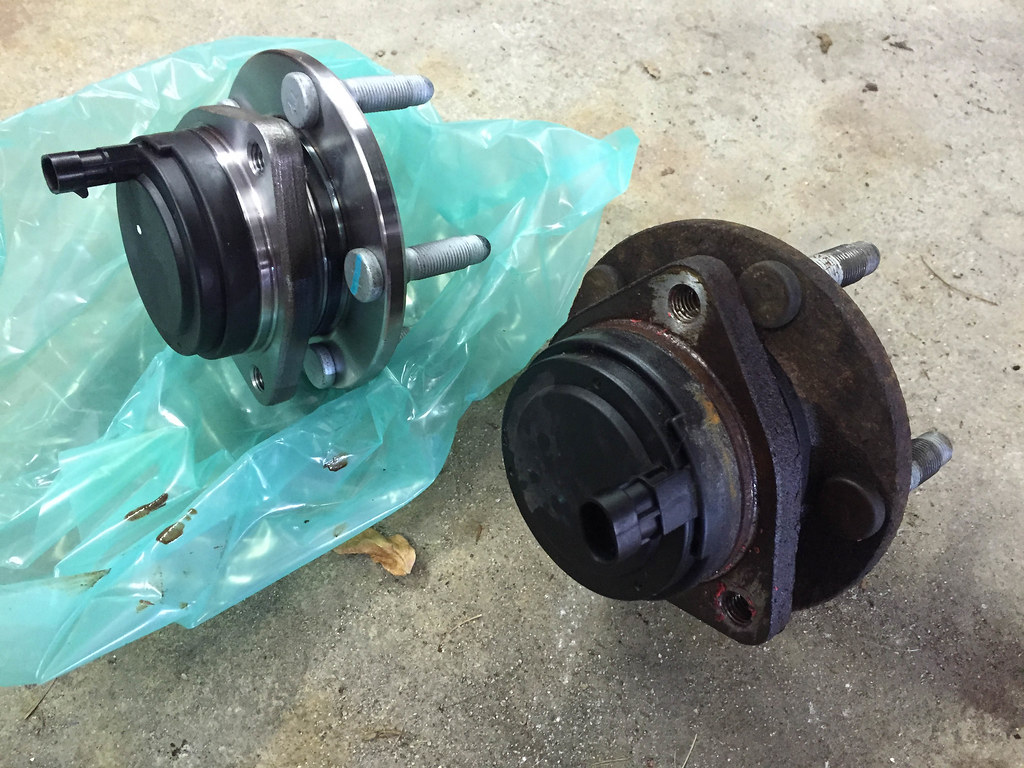
The new hub assembly is ACDelco part number 92192305. I bought mine from Amazon which had the best price I could find at the time. A Moog 513280 should be compatible and can be found for cheaper than the ACDelco, but I decided to stick with the OEM part.
Here's a comparison shot of the old and new.
Installing the new hub is straightforward. The service manual says to discard the old bolts and replace with new. The part number for these is 92138879. You could probably just clean off the sealant on the old bolts and then put new threadlocker on since they aren't TTY bolts. However, for about $2.50 a piece I just bought three new bolts. The bolts get torqued down to 79 ft-lbs and then you can start putting everything back together. After plugging in the electrical connector, put the rotor back on, the caliper and pads, and then you can put the wheel back on with the lugs torqued to 125 ft-lbs.
The ABS fault cleared as I backed out of the driveway and took it for a quick test drive. Overall, this job took me under two hours. It felt like most of that time was spent muscling out the old bolts.
Last edited by LDM; 07-13-2017 at 02:37 PM.
Reason: fix photo links
Len
White Hot 2009.5 Pontiac G8 GT
TVS1900 | Custom Texas Speed & Performance cam spec'd and remote tuned by Patrick Guerra | LS9 Injectors | Rotofab CAI | Corsa catback | Kooks 1-7/8" LTs with catted connectors
-
Post Thanks / Like - 1 Thanks, 0 Likes, 0 Dislikes
 -Ray-
-Ray- thanked for this post
-
Senior Member

Nice write up. Hopefully it'll be quite some time before I have to refer to it.
'09 WH G8 GT
Premium/Sport
Red/Onyx
Rotofab CAI
Cortex 93 tune
20% tint

I just wanted one.
-
Senior Member

Thanks for the photos and the instructions. It looks like a novice such as myself can handle this.

2009 WH GT Prem/Sprt w/Sunroof, Trunk liner, Custom-fitted Sunshade, Sony GPS, LED Rear License Plate Lights. X-PEL Headlight Protectors, Osram Nightbreaker Low- Beams, Redline armrest cover, Raceramp Flatstoppers, Led Reverse Lights, Led Taillights, Led Foglights, Genuine HSV Seat Belt Shouder Pads, Commodore VF rear window interior sunshade direct from AU. No Performance Mods, maybe someday just get a 480HP Crate Engine from GMPerformance.
-
VIP Member

Another quick fit for a sensor fault is to just replace the back cap. That just pot right off and on. You may even find a free one from someone who replace because of a bad bearing.
That's why I saved the used bearings I have.
-
What goes wrong with the cap?
09 G8 GT SRM Premium Sport Sunroof

HSV GTS Triple Gauge Pod, GXP Rear Sway Bar and Diffuser, HSV SuperSport Steering wheel, SOLO axle-backs, Magnaflow cats, Red Hot Shift Knob, Auto-dim Mirror, Hood Vent Mod, Removed Intake Cover, Rotofab CAI, Cortex, Infinity door speakers, MTX Re-Q5, Pioneer Amp & RF Sub, LED lows & fogs, Spyder tails, Power Slot rotors, Wagner Thermoquiet pads, Chrome lug covers, Glovebox light,
Winter-wear:
Bremmerkraft BR09 winter wheels, Weathertech floor liners, oil pan heater
Admin:
www.pontiacbonnevilleclub.com
-
Moderator

Originally Posted by
BuildItYourSelf

Another quick fit for a sensor fault is to just replace the back cap. That just pot right off and on. You may even find a free one from someone who replace because of a bad bearing.
That's why I saved the used bearings I have.
Once I had the hub on the bench I tried prying the back cap off just to see what was inside and it wasn't coming off easily so I gave up. With it recessed in the knuckle I imagine it would be even harder to remove. Regardless, I didn't have any used pieces to replace it with so I had to buy the whole assembly anyway.
Len
White Hot 2009.5 Pontiac G8 GT
TVS1900 | Custom Texas Speed & Performance cam spec'd and remote tuned by Patrick Guerra | LS9 Injectors | Rotofab CAI | Corsa catback | Kooks 1-7/8" LTs with catted connectors
-
Addicted Member

I just replaced the wheel hub assemblies, on both sides, last weekend on my wife's G5. I'd never done it before and it was surprisingly easy to do. Very similar procedure to the G8.
Good write up with good pics. 
Terry Scott
San Antonio, TX
2009 G8 GXP - Sport Red Metallic (#821 of 1829 / #33 of 74 as Optioned)
-
Good to know, thanks. Good thing GM changed how the hubs are mounted so these are easy (see below).
Just some tidbits/warning about replacing other wheel hubs. Did Wheel bearings/hubs on the front of a gmc jimmy and the rear on a 2005 GP. Both required a pnuematic chisel to pry on a small lip to get them out. Good thing a friend at a shop told me about using the chisel. Even with the pneumatic chisel they don't come out easy. Also the truck hubs were held in with 400 ft-lbs. Started looking for and impact wrench at HF, asked if any of theirs would do 400 ft-lbs and was pointed to a particular person who just shook his head "No". Even with a good impact wrench they wouldn't budge when using the small plastic coily type pneumatic hose, had to use the bigger diameter shop type hose.
-
VIP Member
Originally Posted by
LDM
Once I had the hub on the bench I tried prying the back cap off just to see what was inside and it wasn't coming off easily so I gave up. With it recessed in the knuckle I imagine it would be even harder to remove. Regardless, I didn't have any used pieces to replace it with so I had to buy the whole assembly anyway.
I took a screwdriver and smacked it with my hand and it came right off.
I'm sure some are more stubborn then the others tho.
-
Moderator
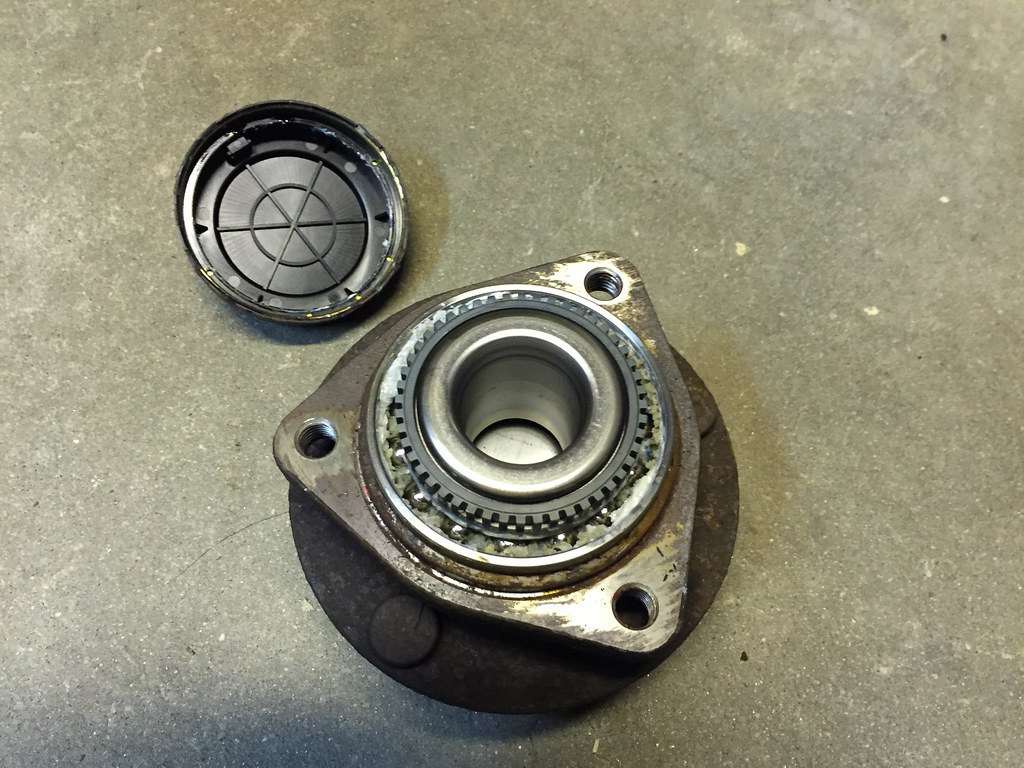
I was eventually able to get it open after going back at it with an old screwdriver and a hammer. In my case I don't think I would've been able to do it on the car so it wouldn't have saved me any time, and I didn't have the time to waste searching around for a used part to save me the money. Here's what the insides do look like in case anybody was curious:
Last edited by LDM; 07-13-2017 at 03:22 PM.
Reason: fix picture link
Len
White Hot 2009.5 Pontiac G8 GT
TVS1900 | Custom Texas Speed & Performance cam spec'd and remote tuned by Patrick Guerra | LS9 Injectors | Rotofab CAI | Corsa catback | Kooks 1-7/8" LTs with catted connectors


 Reply With Quote